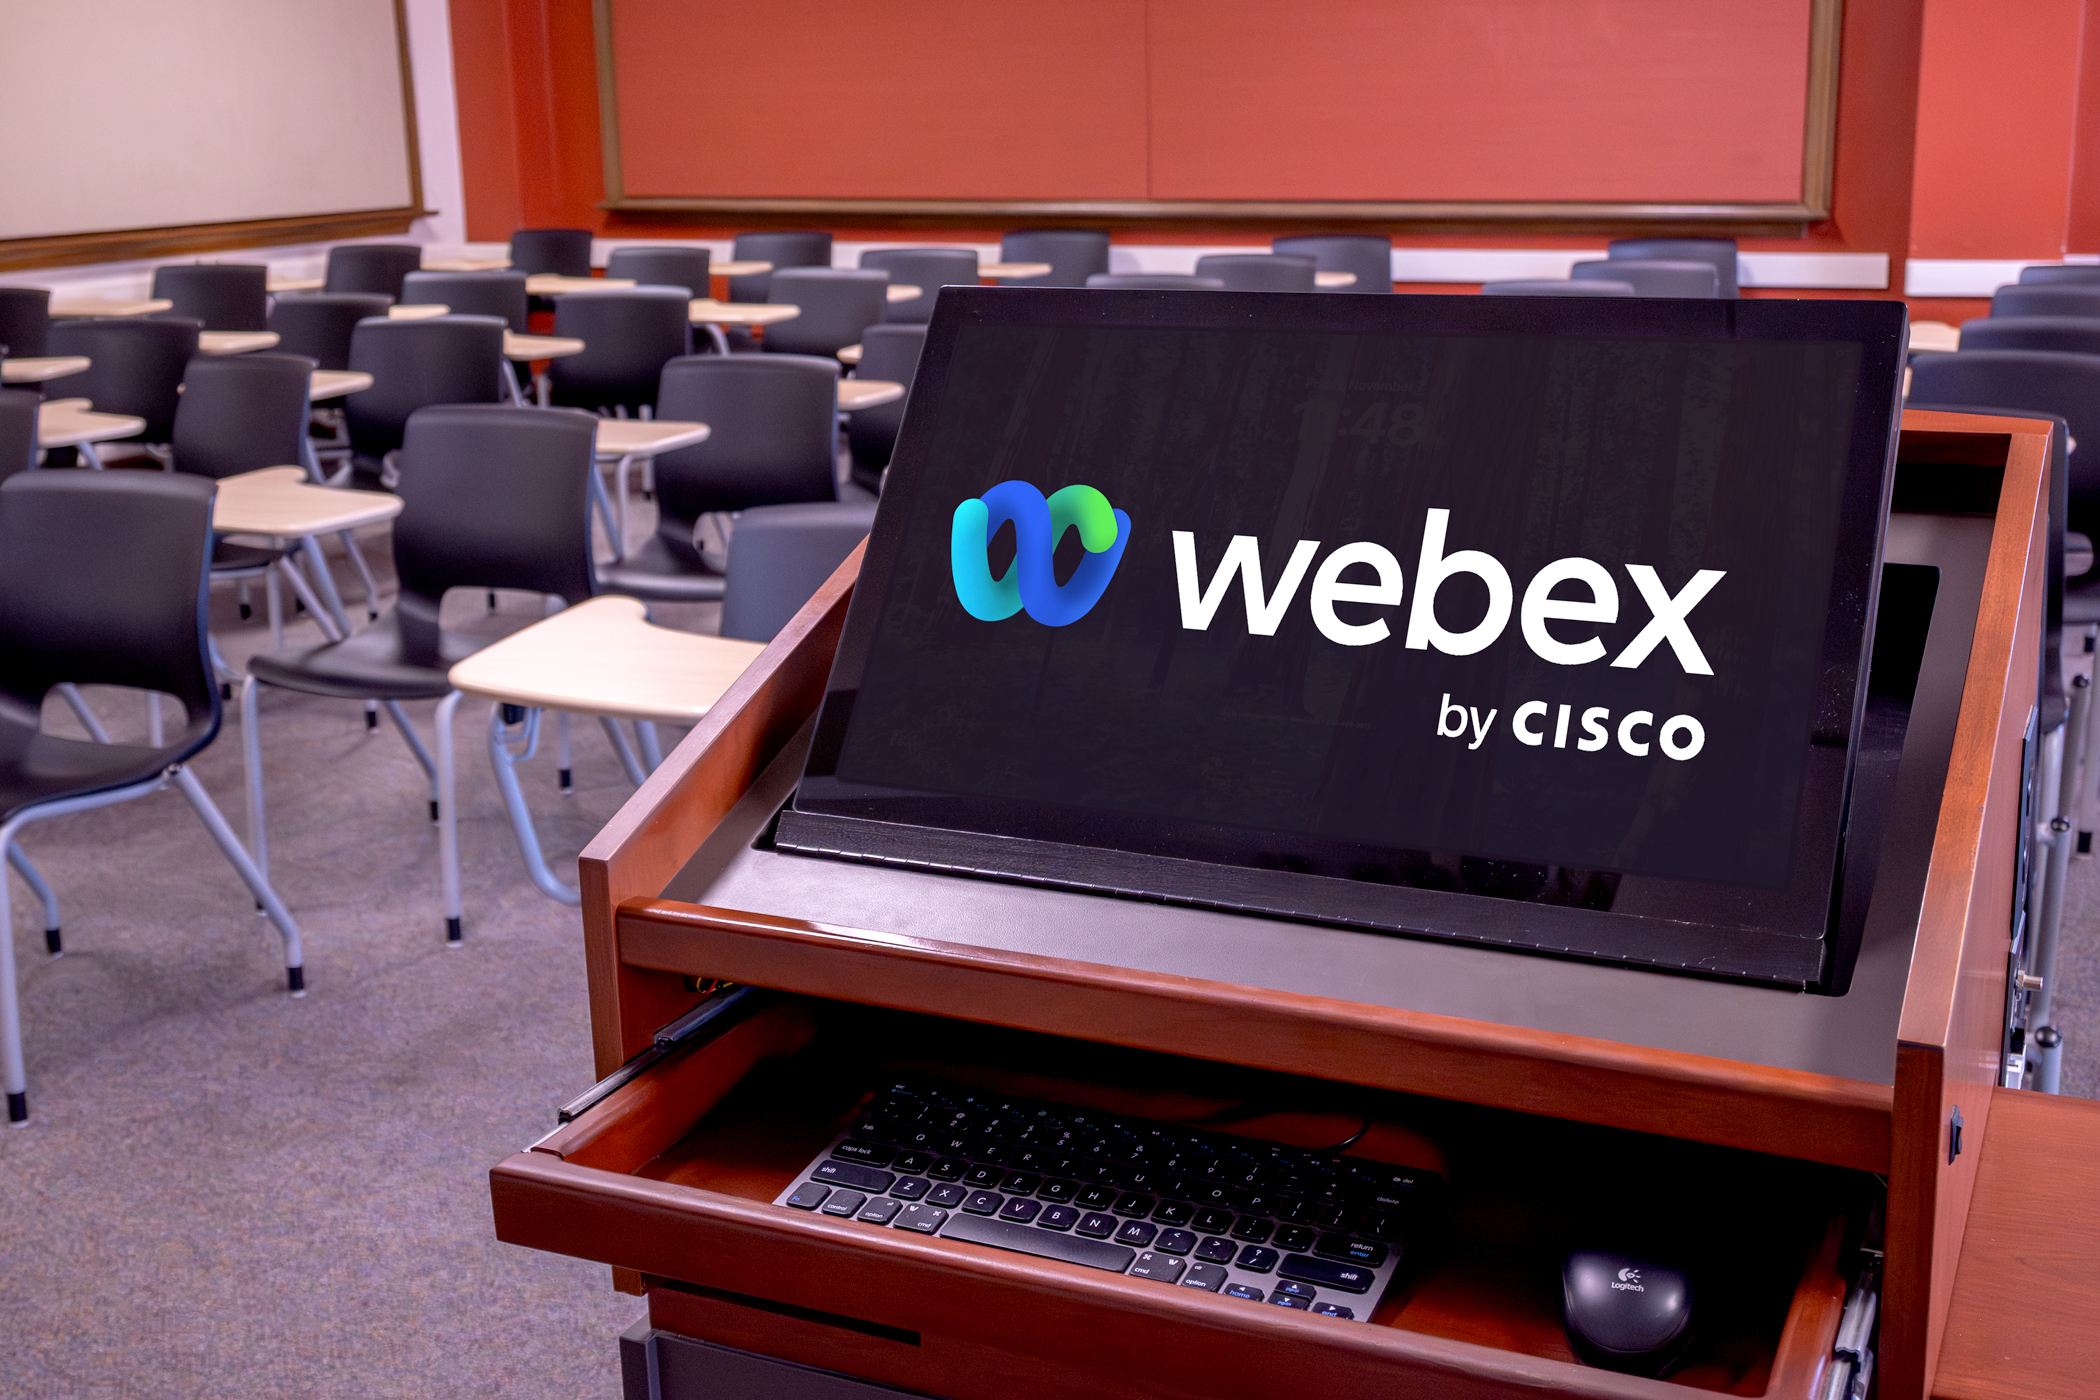
Using Webex in a Videoconference & Lecture Capture Space
Overview
These instructions are designed to help faculty record and videoconference from a classroom to remote students. DCS’s Videoconference & Lecture Capture spaces are uniquely equipped to facilitate Webex sessions. While features may vary across different rooms, they are all equipped with a camera and microphone system that can capture the instructor. With videoconferencing, the instructor and remote students can share class content while seeing and hearing each other. Webex’s record feature can also be used to capture content, audio, and video in a class recording.
Accordion Content
-
Follow these instructions from any computer in advance of class. For more information on using Webex and creating an account, visit it.rutgers.edu/webex. You can also learn how to use Webex within Canvas by visiting https://canvas.rutgers. edu/documentation/ external-apps/webex-setup-for-instructors/.
- Visit webex.rutgers.edu.
- Click Log in. On the next screen, click Sign In in the top right corner and follow the steps to log in.
- Select Schedule a Meeting.
- Select Schedule.
- Under the various options, enter the following:
- Meeting topic: Enter a name for the class meeting. The name will be viewable by your students.
- Date and Time: Enter the date and time for the class meeting. Select Recurrence to schedule future class meetings.
- Attendees:
- If you would like to invite your student via email:
- Copy and paste their email address into this f ield. Email addresses must be separated by a comma or semicolon. Students will receive an email with instructions for various ways of joining the class.
- If you would prefer to post a link to class in your Learning Management System (LMS):
- Enter your email. The email you receive will include a Join Meeting button. Right click on that button and select Copy Hyperlink. You can then paste this hyperlink into a message or page on your LMS for students to use to connect.
- If you would like to invite your student via email:
- Click on Show advanced options.
- Click on Audio connection options.
- Entry and exit tone: Select No Tone.
- You need not edit the other fields.
- Click on Schedule.
-
- At the Podium, if the touchscreen is black or displaying the screen saver, press Enter on the keyboard. Wait for the login screen to appear. When the login screen appears, enter your Rutgers NetID and password. Press Enter.
- After you have logged in, the Rutgers Room Control (RRC) window will automatically open. This is the dashboard from which you control the room.
- Select Videoconference in the bottom left corner.
-
- To start a scheduled meeting, log in at webex.rutgers.edu, locate the meeting, and select Start.
- To start a new meeting: In the center area of Rutgers Room Control, select Webex.
- Log in using the email address and password associated with your Webex account.
- The Cisco Webex Meetings application will open. Select Start.
-
- In certain rooms, you may return the Rutgers Room Control and choose the camera preset you would like.
- Use the Program Volume slider on the right of RRC to adjust the audio level of participants in the conference.
- If your room has built-in microphones, you do not need to do anything to activate your audio.
- If your room does not have ceiling microphones, remove the lavaliere microphone from the system’s drawer, turn it on, and attach it to your collar while pointing the microphone towards your mouth.
-
- To begin sharing content in Webex, select Share Screen. In the pop-up window, you may choose to share your entire desktop or individual open applications.
- Select your option and press Share.
- To use and share the document camera in rooms equipped with one, in the computer dock, click on the Visualizer logo. When prompted to allow Visualizer to use the camera, click OK. If the camera image does not appear, click on the rectangle in the top left corner and select a different camera until it does.
-
By navigating back to the Cisco Webex Meetings App, you can access various controls.
Controlling Student Audio and Video
As students join the videoconference, you will see them in the participants that fills the right edge of the Cisco Webex Meetings window. As the meeting host, you can control student audio and video using several controls. Right click on a student to reveal these options:
- Mute: mutes the audio of the student on whom you have right-clicked
- Unmute: unmutes the audio of the student on whom you have right-clicked
- Mute all: mutes the audio of all students
- Unmute all: unmutes the audio of all students. You might wish to do this if there is too much noise or feedback.
- Stop video: stops the video of the student on whom you have right-clicked
Recording Class
- To record the class, including everything occurring in the videoconference, select the fourth button from the left. In the pop-up that appears, press the Record button and record to the cloud.
- To access the recording, login in to rutgers.webex.com and select the recordings button from the left column menu.
-
- In the top center section of Rutgers Room Control, click on the Podium Computer tab.
- Press Enable Extended Desktop. If a pop-up window appears, select the location where you would like to view additional tools.
- The room’s displays will now show two different desktops. You can put different items on each screen by dragging that item’s window off of its current screen to the left or right and onto the other screen.
-
- In the bottom of the Cisco Webex Meetings window, click the red X.
- Select End Meeting.
- When you are finished using the room, in Rutgers Room Control, select Log Out.
Still Need Help?
The DCS Help Desk is here to help.